

How to Create a Gallery Wall
A gallery wall is a great way to hang your collection and create an exciting focal point in your home. It is a way to reflect your personality and showcase an eclectic mix of art.
Before gallery wall was a trending # this way of eclectic hanging was my go to for showcasing the art I had collected over the years – not to mention a lack of wall space.
It can be a little overwhelming when staring at a blank wall, so I’ve written a guide to help you approach creating a gallery wall that doesn’t leave you with a lot of holes in your home!

1. Choose your artwork
When choosing the pieces for your gallery wall, the most important thing to remember is to pick pieces you love. There are no rules! Eclectic works brilliantly but it can be daunting, so a theme running through the pieces is an easier way to start to give you confidence.
If you do decide to mix up the styles – try a loose colour theme through the artwork or frames to pull the gallery wall together and create synergy.


2. Pick your layout
When planning out your gallery wall think about the and result. Do you want an eclectic ‘organic’ look, or do you prefer cleaner lines – in which case a ‘tryptic’ or ‘grid’ gallery wall would suit you.

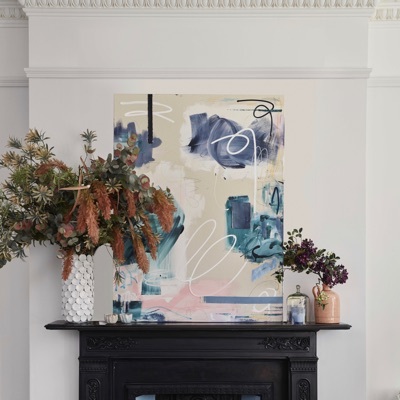
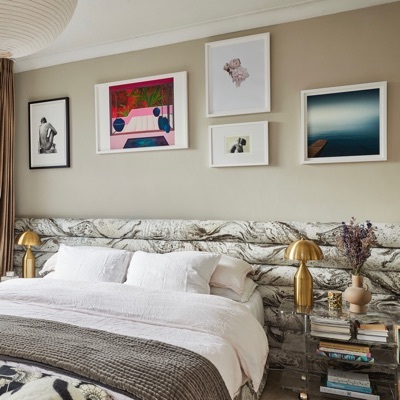
Organic
This layout is perfectly imperfect – and the beauty is you can add to it over time! It looks great above furniture and up a stairway if you are feeling brave.

Clare Halifax
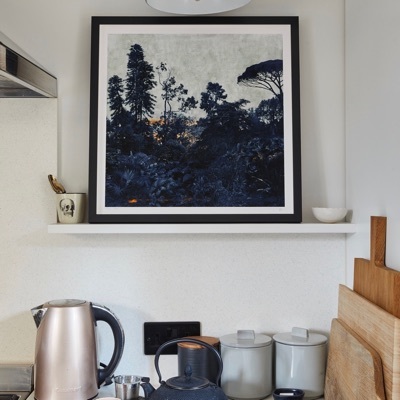
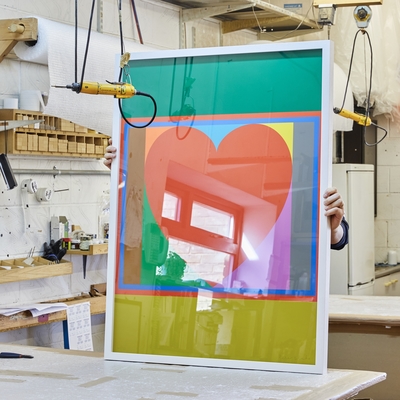
Triptych
This is a perfect gallery hang in a hallway. This layout can also easily extend to be a longer formation – my tip is to keep to an odd number, 5 pieces will look great too!

Martin Grover
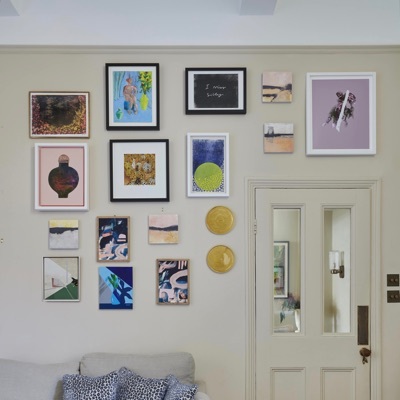
Grid
If you’re a perfectionist, you’ll love this clean design – keep the pieces within a square or rectangle formation, finishing the sides in a clean line.
3. Start Small
My top tip is to start small – a large blank wall can be an overwhelming starting point for your first gallery wall. Try a small collection hung above a piece of furniture or pick a smaller wall or hallway – maximum impact, minimum stress!


4. Plan it out on the floor
Before you start hammering nails in the wall, plan out your gallery wall on the floor. This is a great way to make sure you are happy with the flow and balance of the artwork. Spread out larger pieces within the hang so it doesn’t feel too heavy in one area. Try a couple of options with the layout before you make your final choice – then photograph it as a reference point for when you start to hang!

5. Time to hang
You have your layout so now it is time to transfer to the the wall. Start from the centre and work outwards – making sure you measure out the gaps and where to place the hooks. I recommend around a 10cm gap between artworks for a large gallery wall, but for a small one the spacing can also work bigger. If your measuring goes a little awry don’t worry – it’s all part of the beauty!
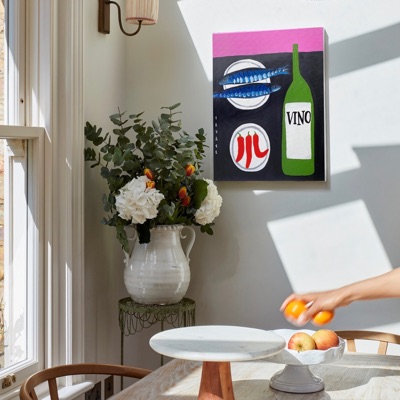
6. A little cheat!
It may take a while to build up your collection or you may not be ready to commit to a gallery wall. An easy alternative is the gallery shelfie – requiring no hanging and flexibility to change it up. This will instantly liven up a piece of furniture and looks great layered with plants, vases and trinkets.
This is a perfect way to display your artwork before you commit to the final hang!


Browse our collection to start creating your own gallery wall!
Erica x
And if you need any more inspiration to create your own gallery wall at home check this article out.